


How to Blog About Your Interior Design Projects
As an interior designer or home professional, sharing your finished projects is essential to getting more. Of course, assuming that the project is one you would genuinely enjoy doing again! Done right, these types of blog posts can go the extra mile, showing your readers:
- Your design talent
- How you solved unique problems
- How you transformed your clients’ lives (BIG WIN)
- And of course, attracting more clients and projects like them
So instead of slapping up some “After” photos and calling it a day, how can you share just the right amount of thought and detail? Let’s talk about it…
1. Structure the Blog Post in a Logical Way
When it comes to discussing your design projects, it’s best to present the information in chronological order. I’m imagining that you first discussed the clients’ lifestyle and wishes, then you planned a design that would solve their problems, and then you brought it to life.
Share details in that order to take readers along with the story, and use your headings (the larger font size) to create sections by “Before” and “After” or by room.
Note: If you did a full-home design, you can break the project into 2 or even 3 blog posts or more. This could be by room, by section of the home, by social vs. personal spaces, etc.
2. Talk about the Clients
If the clients you worked with are your ideal clients, be sure to talk about them. You don’t have to share their names (in fact, I recommend using fake ones), but you can mention some key identifiers that future clients might have in common.
Who are they? A young, newly married couple? Large family with kids at home? Empty-nesters excited about finally downsizing?
What is their lifestyle like? Busy work schedules? Raising kids? Traveling often? All of the above?
What are their struggles? Staying organized? Feeling rested at home? Making the most of free time? (Read more about identifying your ideal clients’ struggles here.)
3. Share Your Clients’ Struggles (& the Project’s)
When you discuss the challenges of the project, you can approach it in two ways:
- The challenges you solved for your clients (making morning prep easier, creating a space for entertaining, etc.)
- The design challenges you faced when creating what your clients needed (Did the hoped-for open concept space include load-bearing walls to navigate? Did you need to custom build something for them? Etc.)
You can list the project’s challenges with bullet points or simply share them throughout the post as you unveil the “After” photos and share what you did to achieve the final result.
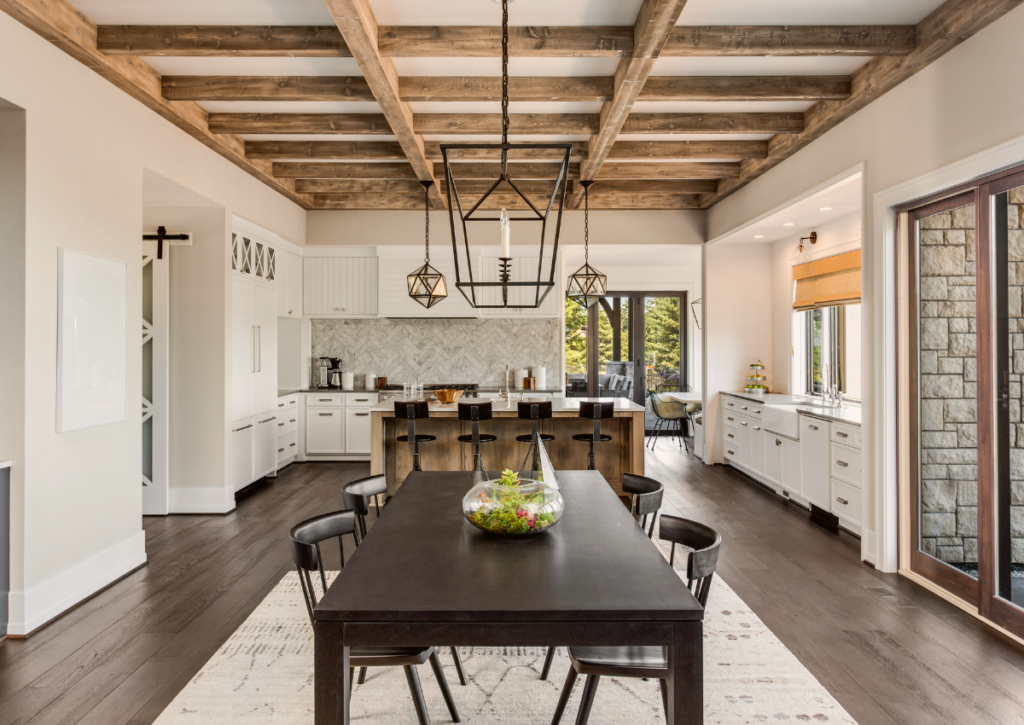
4. Include “Before” Photos
I rarely, if ever, suggest putting “Before” photos on a Portfolio page, but blog posts are the perfect place to do it. “Before” photos reveal the full journey and transformation, and the everyday person often needs a comparison so they can see the true depth of your work. This is true whether you redesigned the space, staged it, or created custom window treatments that brought a room to life.
5. Share Your Final Design with Insightful Commentary
Of course, “After” photos are the best part of any design reveal. You’ll want these to be high-quality, large enough to see clearly, and accompanied by some commentary about the design. I don’t recommend going into too much design detail (unless you know your clients appreciate it), but instead share:
- How the clients’ goals, style, or personalities influenced the design
- How the design will make your clients’ everyday lives easier
- A little designer’s insight into why a particular element works in the space
- How you kept their home extremely personal, unique, or meaningful
1-2 short paragraphs per “After” photo is plenty!
There you have it — 5 tips for presenting your projects to your best advantage.
If there’s one BIG takeaway I’d like you to have here, it’s to make sure you mention the impact your work had on your clients’ lives. Because, yes, you might be a designer, but you use design to transform lives… and that is infinitely more powerful.
If you need support with content creation, we’re here for you.
Cheers,
Jaquilyn


WATCH the masterclass
WORKBOOKS & DOWNLOADS

A-to-Z LIST OF LUXURY WORDS
GUIDE TO BRAND MESSAGING
START BLOGGING FOR SEO


Printable Workbook
Our Go-To Lexicon!
Guide + Checklist


